
Framework lead — why this matters now
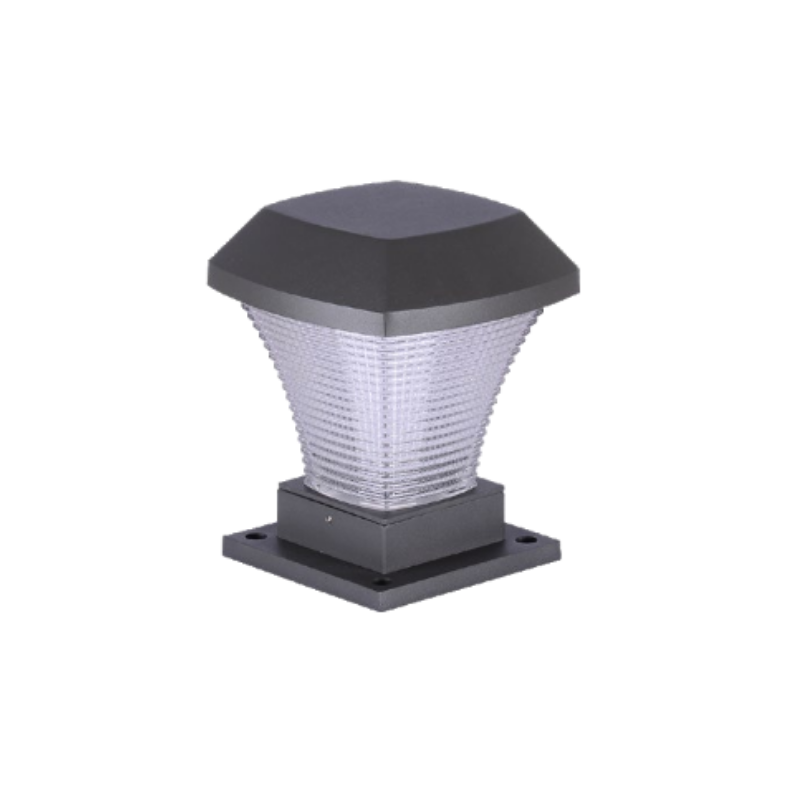
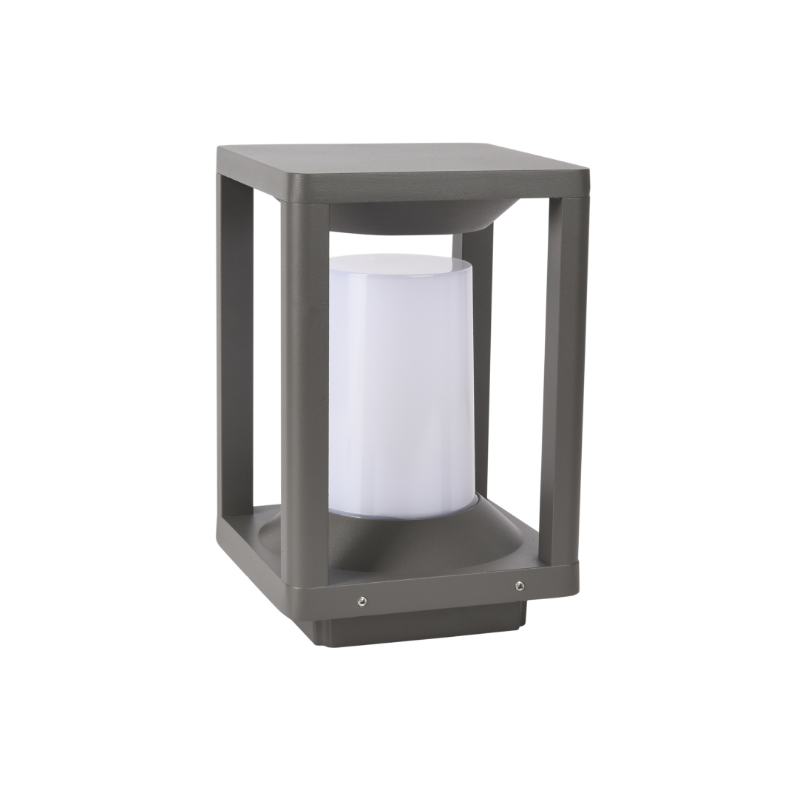
Deciding on an exterior lighting housing is a systems decision: material choice, thermal path, and long-term maintenance together determine lifecycle cost and operational uptime. This framework focuses on pier and waterfront applications where salt, wind, and continuous operation stress both structure and electronics. If you are evaluating outdoor pier mount lights or broader choices like modern pier mount lights, treat housing as the primary reliability component rather than a cosmetic detail. The approach below is user-centered and practical: define needs, compare objectively, then test to spec.
Step 1 — Define operational profile
List the site variables first: proximity to salt water, ambient temperature range, expected duty cycle (hours per day), and maintenance access. A coastal promenade near San Diego or a busy northern harbor each demands different corrosion resistance and thermal strategies. Record peak ambient and expected LED drive currents to size heat sinking and driver ventilation correctly. This avoids under-spec housings that fail after a single season.
Step 2 — Materials and coatings: the corrosion argument
Aluminium with Class II anodizing, 316 stainless steel, and powder-coated die-cast alloys are common. Compare them by expected lifespan in the environment you defined. For harsh marine exposure, 316 stainless or properly sealed die-cast with a multi-layer corrosion-resistant coating and sacrificial anodes perform best. Require ASTM B117 salt spray testing results in supplier dossiers — 1,000 hours is a common benchmark for severe coastal specs. Also demand clear assembly details: paint undercuts, gaskets, and fastener materials matter as much as the housing body.
Step 3 — Thermal design: beyond a large fin
Thermal dissipation is mechanical engineering, not decoration. Evaluate conduction paths from LED board to housing, the presence and design of heat sinks, and whether the housing supports forced convection or passive cooling only. Look at LED junction temperatures under worst-case ambient and maximum drive current. Ask for thermal-imaging data or CFD reports when available. A low-profile fin pack is fine in cool climates — in high ambient or enclosed fixtures you need a purposeful conduction path and a tested heat sink interface to preserve lumen maintenance and driver life.
Step 4 — Enclosure ingress, sealing, and electrical interfaces
Specify an IP rating aligned with exposure: IP66 minimum for splash and wind-driven spray in many pier installations; higher if immersion or frequent hosing is expected. Evaluate cable entries, breather vents, and gasket compression over the projected service life. Check the LED driver compartment separation and the ease of field-servicing without breaking seals. Failure here often starts at the cable gland — insist on marine-grade glands and captive fasteners.
Step 5 — Standards, testing and field verification
Require test evidence: salt spray (ASTM B117), thermal cycling, vibration, and photometric reports (IES files). Cross-check claimed IP66/IP67 ratings with vendor test reports. For long-term assurance, demand a first-article sample for field trial—install it on a local pier or equivalent site for at least 90 days under expected operational conditions. Real-world anchors matter: post-install inspections of coastal piers in the wake of hurricanes and heavy storms have repeatedly exposed housings that passed lab tests but failed in situ due to overlooked assembly details.
Common procurement mistakes—and quick fixes
Buyers repeatedly make three errors: (1) equating cosmetic coatings with corrosion protection, (2) under-sizing thermal paths for peak drive conditions, and (3) neglecting serviceability in the field. The fixes are procedural: require coating specs and film thickness, mandate thermal test evidence at project-maximum ambient, and add a clause for replaceable service modules. — Small contractual lines save big maintenance bills later.
Comparative checklist for vendor selection
Use this quick checklist when comparing suppliers:
- Material + coating spec and ASTM B117 hours documented
- Thermal data: junction temperature at max drive and max ambient
- Ingress protection test reports (IP rating and test certificates)
- Serviceability: module replacement without seal compromise
- Warranty terms tied to specific corrosion and lumen-maintenance metrics
Procurement example and alternatives
If you select a die-cast aluminium housing with a bonded heat sink, expect lower cost and good thermal paths for many sites. For ultra-marine locations, shift to 316 stainless or specify replaceable sacrificial parts. Alternatives include powder-coated aluminium with enhanced gasketing or housings with integrated active cooling for exceptionally high-output LED arrays. Each alternative trades cost for longevity or performance — decide based on duty cycle and maintenance budget.
Advisory close — three critical evaluation metrics
1) Corrosion Assurance: documented salt spray hours and material certs. 2) Thermal Margin: measured junction temperature under worst-case ambient and full drive. 3) Serviceability Index: time-to-service and seal integrity after maintenance. Use these three as pass/fail gates in procurement.
Choose suppliers that can show measured data and on-site performance history rather than elegant CAD drawings alone — that is where value accrues. Keyida provides housings and test data aligned with these practical metrics — a natural fit for projects where uptime and lifetime cost matter.
—