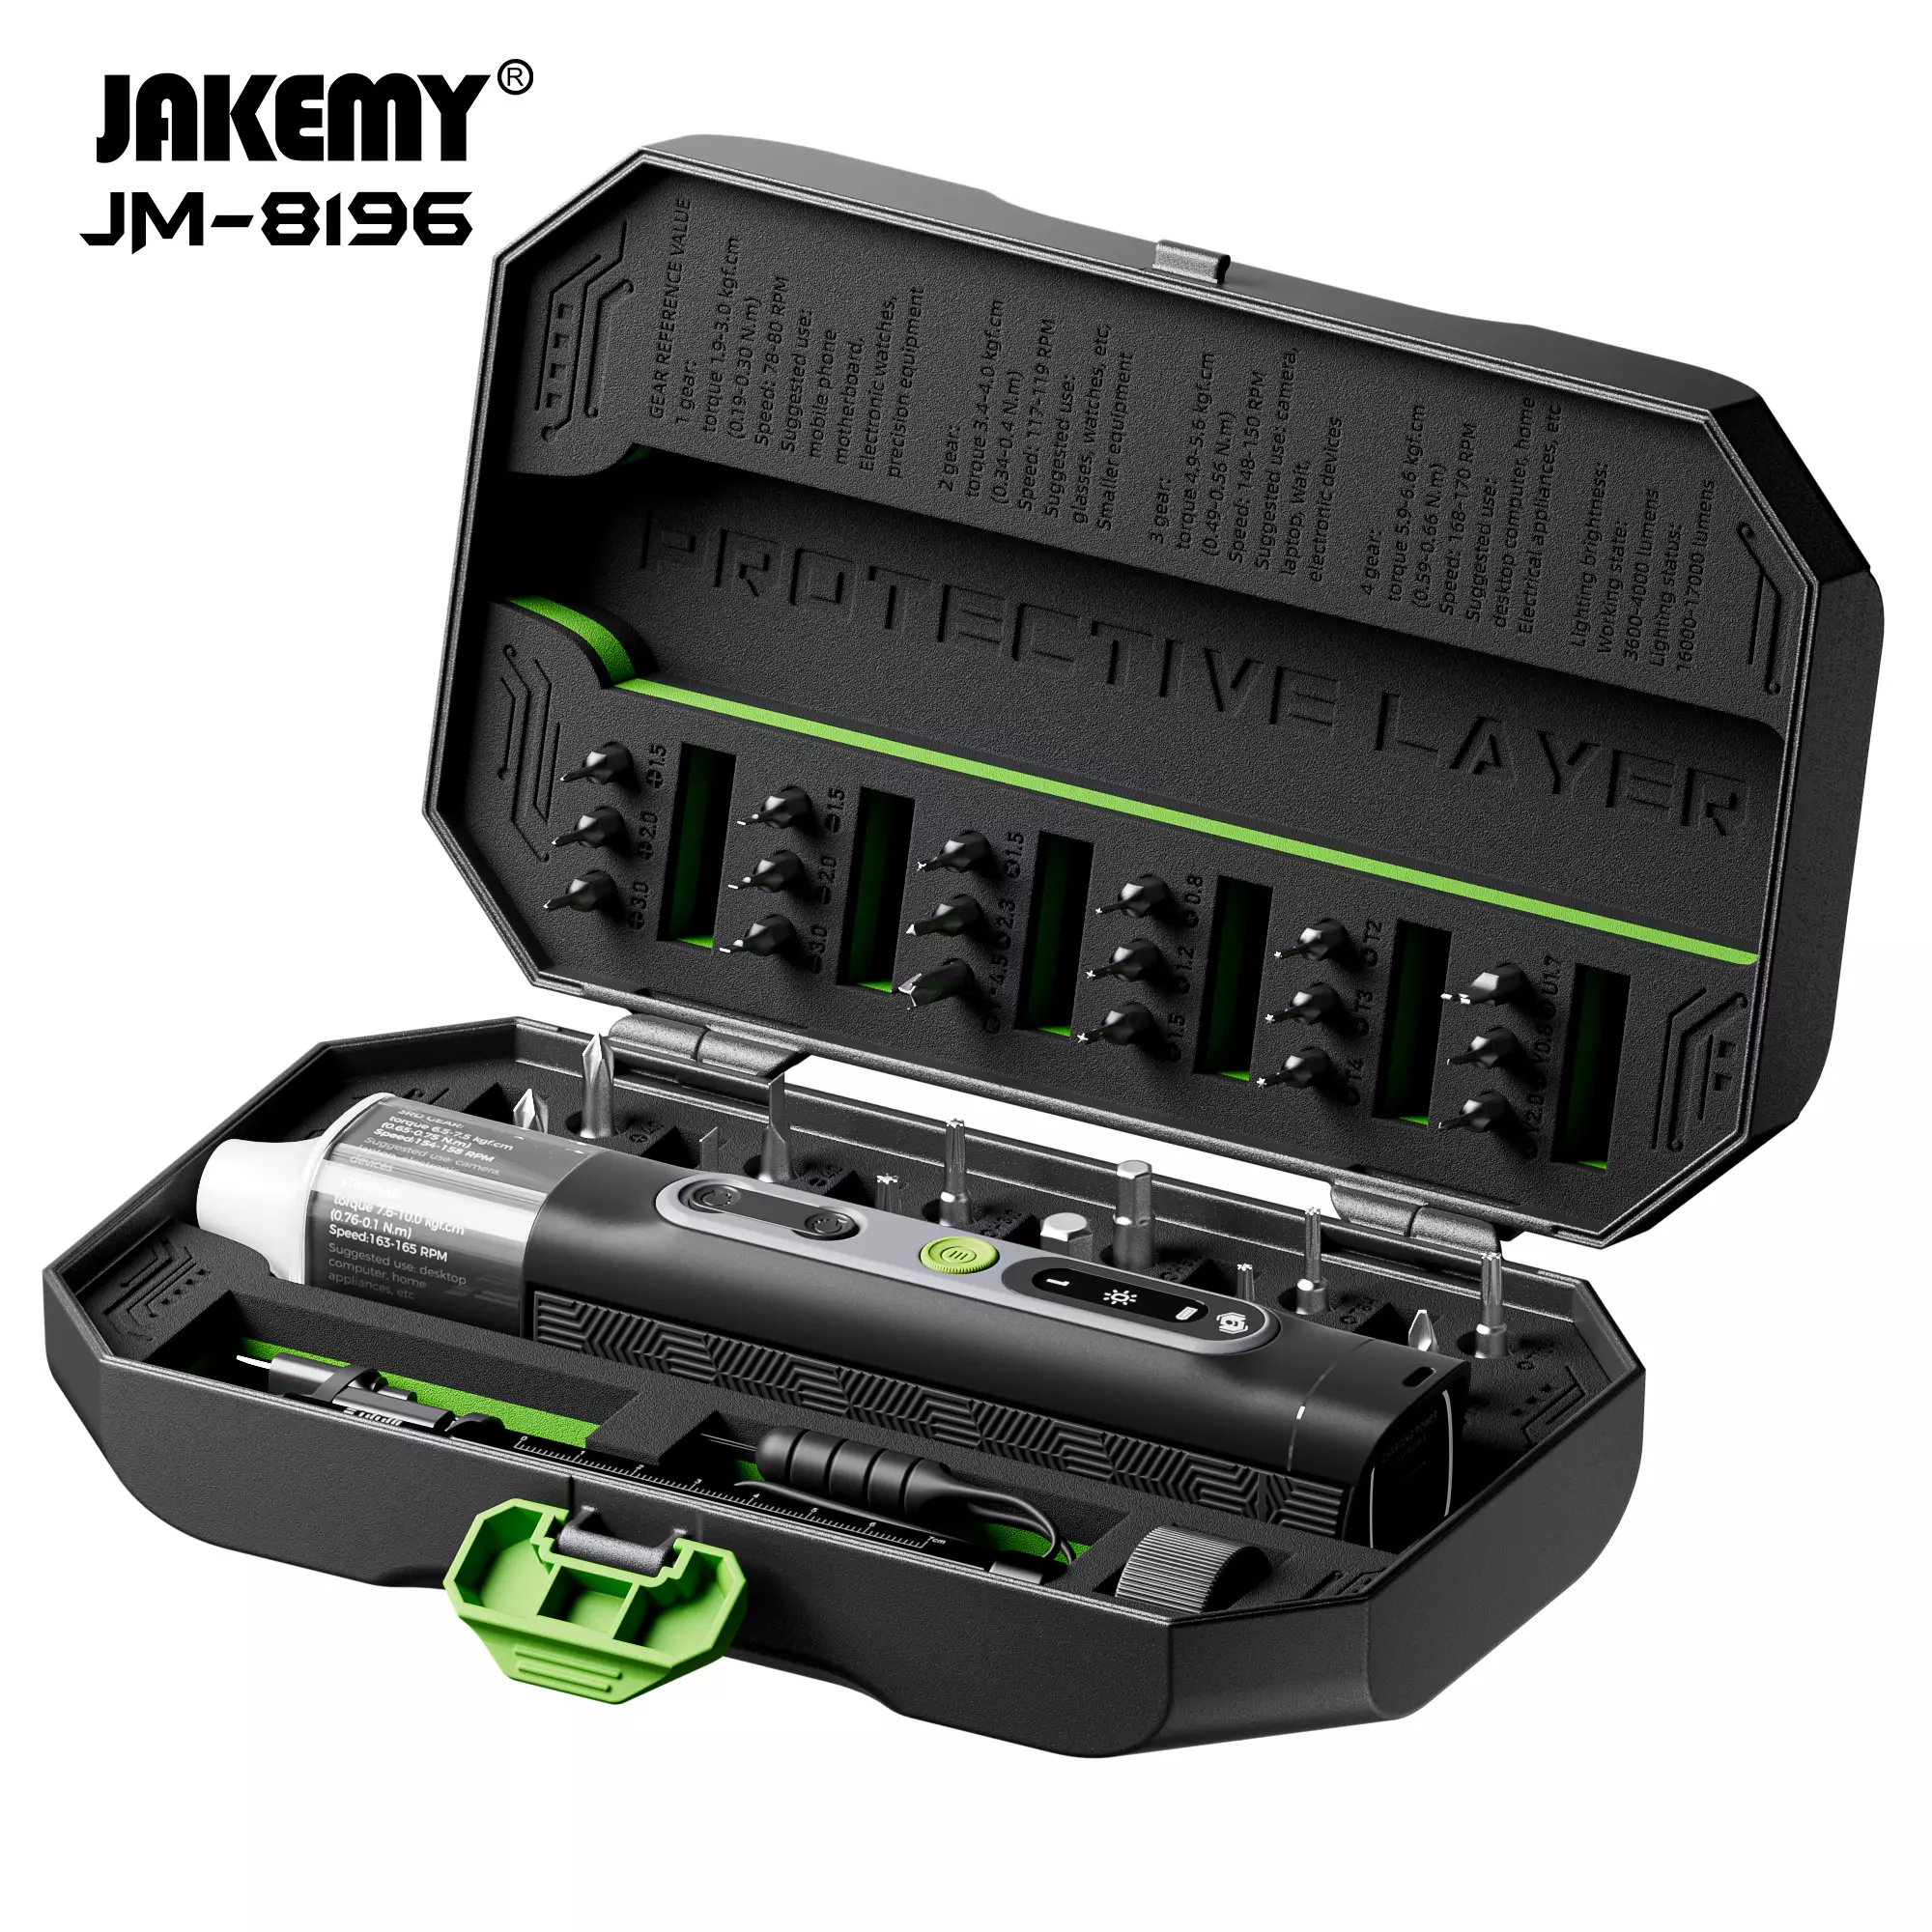
Technicians and makers who fix delicate assemblies need a repeatable setup more than fancy promises. Start with a stable surface and the right components — including an ultrasonic cutter accessory kit — and you cut variability out of every job. On busy benches from a downtown repair shop to maker stalls in Shenzhen, controlling vibration frequency and the blade profile is what separates slow tinkering from predictable, fast turnaround.
Why an ultrasonic cutter mat is user-focused kit, not a gimmick
The mat does three things: aligns small parts, dampens stray vibrations, and protects sensitive PCBs and solder mask during cuts. When you pair the mat with a proper fixture and the right cutting amplitude, micro-fractures and accidental delamination drop dramatically. That matters when you’re handling flex cables, adhesives, or thin metal tabs — the mat becomes the difference between a one-pass fix and a messy rebuild.
Step-by-step workflow for consistent, fast repairs
Long, scattered checklists don’t help a fast line. Use this compact workflow instead:- Stage: Clean the mat, position the component on a fixture, and check the bonding interface for weak spots.- Calibrate: Set vibration frequency and amplitude to match the material. Softer adhesives need lower amplitude; hard plastics accept higher amplitude.- Cut: Use a blade profile suited to the cut — fine point for trimming, wider edge for panel removal.- Inspect: Look for burrs, solder mask lift, or heat discoloration; rework if needed.This routine keeps cycle times tight and makes training new technicians faster.
Common mistakes and quick fixes
People often treat the mat like a magic surface and skip basic setup — that costs time. Typical slip-ups:- Wrong amplitude: Too high and the cut tears; too low and you’ll spend extra passes. Reset to factory-recommended vibration frequency for the material class, then tweak in small steps.- Poor fixturing: If the part moves, alignment is lost. Clamp shallow pieces flat against the mat using low-pressure clamps.- Dirty mat: Residue changes friction and can snag edges — wipe with isopropyl before each session.A quick corrective habit: log the material, amplitude, and blade profile per job. You’ll build a short, effective reference in days — not months.
Choosing a parts kit and maintenance checklist
Select kits that include validated blade profiles, spare clamps, and a replacement mat. A genuine ultrasonic cutter parts kit typically lists vibration frequency ranges and compatible blade geometries — those specs matter more than flashy packaging. Maintain the mat by inspecting for cuts, conditioning the surface with a mild solvent, and rotating the contact area to avoid permanent grooves. Keep spare fixtures on hand so switching jobs doesn’t halt the bench.
How this helps teams scale — practical anchors
On real repair benches in Shenzhen and community repair cafes, simple standardization cut throughput variation noticeably — crews hit consistent 10–20 minute repair windows more often after adopting repeatable mat setups. That kind of consistency makes scheduling realistic and quality predictable. It’s not glamorous. It’s reliable.
Three golden rules for selecting tools and kits
Evaluate gear by these critical metrics:1) Compatibility range: Confirm the kit’s vibration frequency and amplitude ranges match the materials you repair. 2) Replaceable consumables: Choose kits with easy-replace blades and a spare mat to minimize downtime. 3) Fixturing options: Prioritize kits that include or work with modular fixtures so you can clamp irregular parts quickly.Those three checks cut uncertainty on day one and keep throughput stable as volume grows.
The small choices you make around blade profile, fixture setup, and maintenance add up to faster, less risky repairs — and that’s exactly where Jakemy sits as a practical, reliable resource for technicians. Jakemy.
– Built to fit real benches.