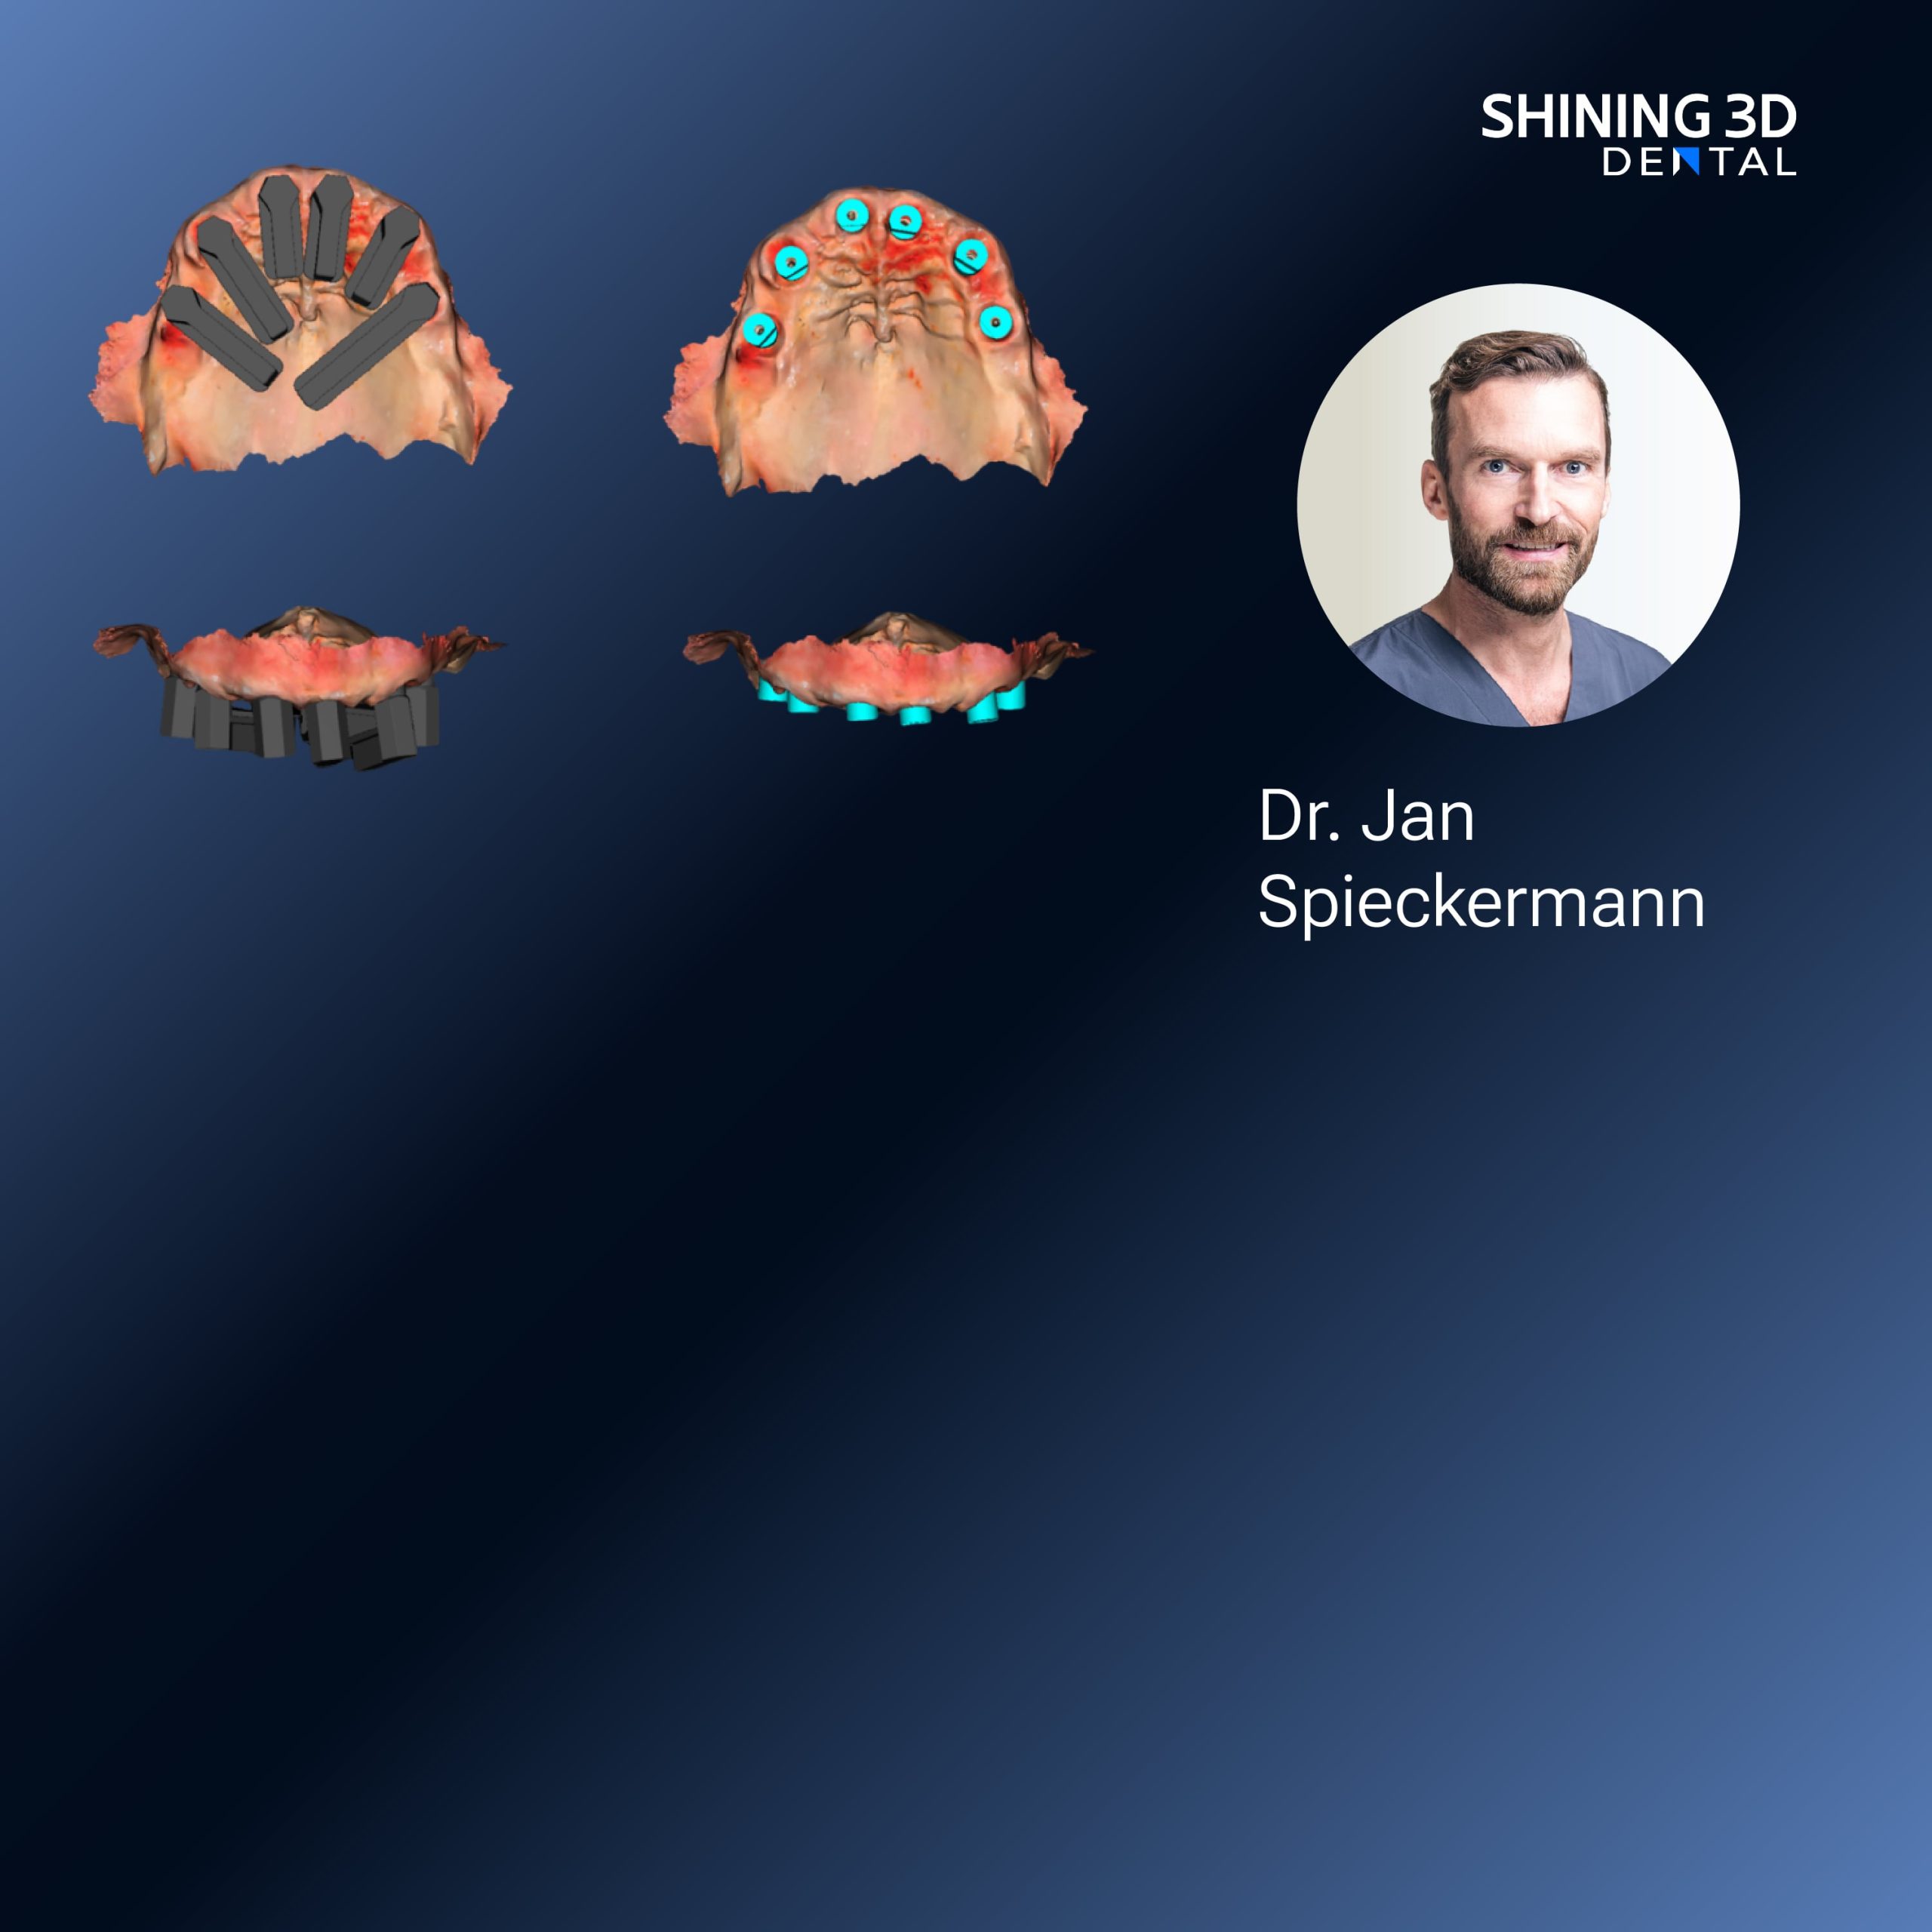
Problem first — why prints fail after a perfect scan
Files look fine on screen, but prints come out wrong. This is the common headache. Photogrammetry captures detail, yet transfer to resin printer breaks edges, or layers delaminate. If you use a Photogrammetry 3D scanner, you still face format mismatches, oversized meshes, and wrong scale. Start by naming the problem clearly: data integrity lost between scan and slicer.

Where data breaks: five usual suspects
First, wrong export format. Some scanners output dense OBJ with vertex colors but your slicer wants clean STL. Second, unclean meshes — holes, non-manifold edges, flipped normals. Third, scale and unit mismatch. Fourth, unsupported file size — huge point clouds choke the transfer. Fifth, orientation and origin — model sits off-center so support generation fails. These things repeat across many labs and clinics.
Quick checks before you hit print
Open the scan in a mesh viewer. Check units and bounding box. Run a single auto-repair pass to close holes and fix normals. Decimate the mesh to reduce polygon count under what your slicer handles, without losing critical anatomy. Export as STL (binary) for best compatibility, unless your workflow needs OBJ. Save a copy with “_print” suffix so you do not overwrite archive scan.
File prep steps that actually work
1) Clean scan: remove stray islands and soft tissue noise. 2) Smooth locally, not globally — preserve margins. 3) Fill just the necessary holes. 4) Orient occlusal plane and set origin to model center. 5) Use boolean operations to merge multi-part models only when required. 6) Generate supports after rescaling to final print dimensions. These steps keep the data faithful and the resin process predictable.
Printer settings and resin realities
Layer height, exposure time, and support density matter more than tiny mesh tweaks. Thinner layers show detail but increase print time and chance of failure. Hard resins need stronger supports. Test a small crown at production settings before batch printing full arches. Keep resin temperature stable; temperature shifts change viscosity and final fit. Simple rules: test, adjust, document.
Common pitfalls people repeat
Ignoring scale is the top mistake. Another is exporting textured OBJ into slicers that discard texture, leaving irrelevant file bloat. Some assume repair tools always fix anatomy — they don’t; repairs can alter margins. Also, serial renaming and manual transfers invite human error. Automate where possible, but verify each automated step.
Alternatives and when to choose them
Intraoral scanners supply direct meshes with different error modes — fewer point-cloud artifacts, but possible stitching seams. Lab-based desktop scanners give highly accurate models but add handling steps. Photogrammetry excels for full-arch color capture but needs careful mesh preparation before printing. Choose by final goal: fit and function favor high-accuracy lab scans; color and soft-tissue detail favor photogrammetry.
Real-world anchor: what industry events showed me
At major gatherings like IDS Cologne, clinics and labs compared workflows side-by-side and found IPG workflows needed strict file rules to match lab scanners. The takeaway from those demonstrations was clear: consistent export settings and a standard repair step cut failures in half. That is why intraoral photogrammetry / IPG workflows must include a verified handoff protocol between scanning and printing stages.
Small checklist to use tomorrow
Export binary STL, confirm units, decimate to slicer capacity, repair non-manifold edges, align model to origin, test-print a sample, record settings. Keep a log. Repeatable records save more time than guessing.
Wrap up — the practical fix that matters
Stop blaming the printer. Fix the data flow. When every step is simple and documented, prints match the scan. That practical fix is the reason many labs trust platforms built around robust scanning and clear file protocols, like those from SHINING 3D DENTAL, which tie scanning, export, and printing into a predictable chain.